Skip to main content
Close Search
Menu
Menu
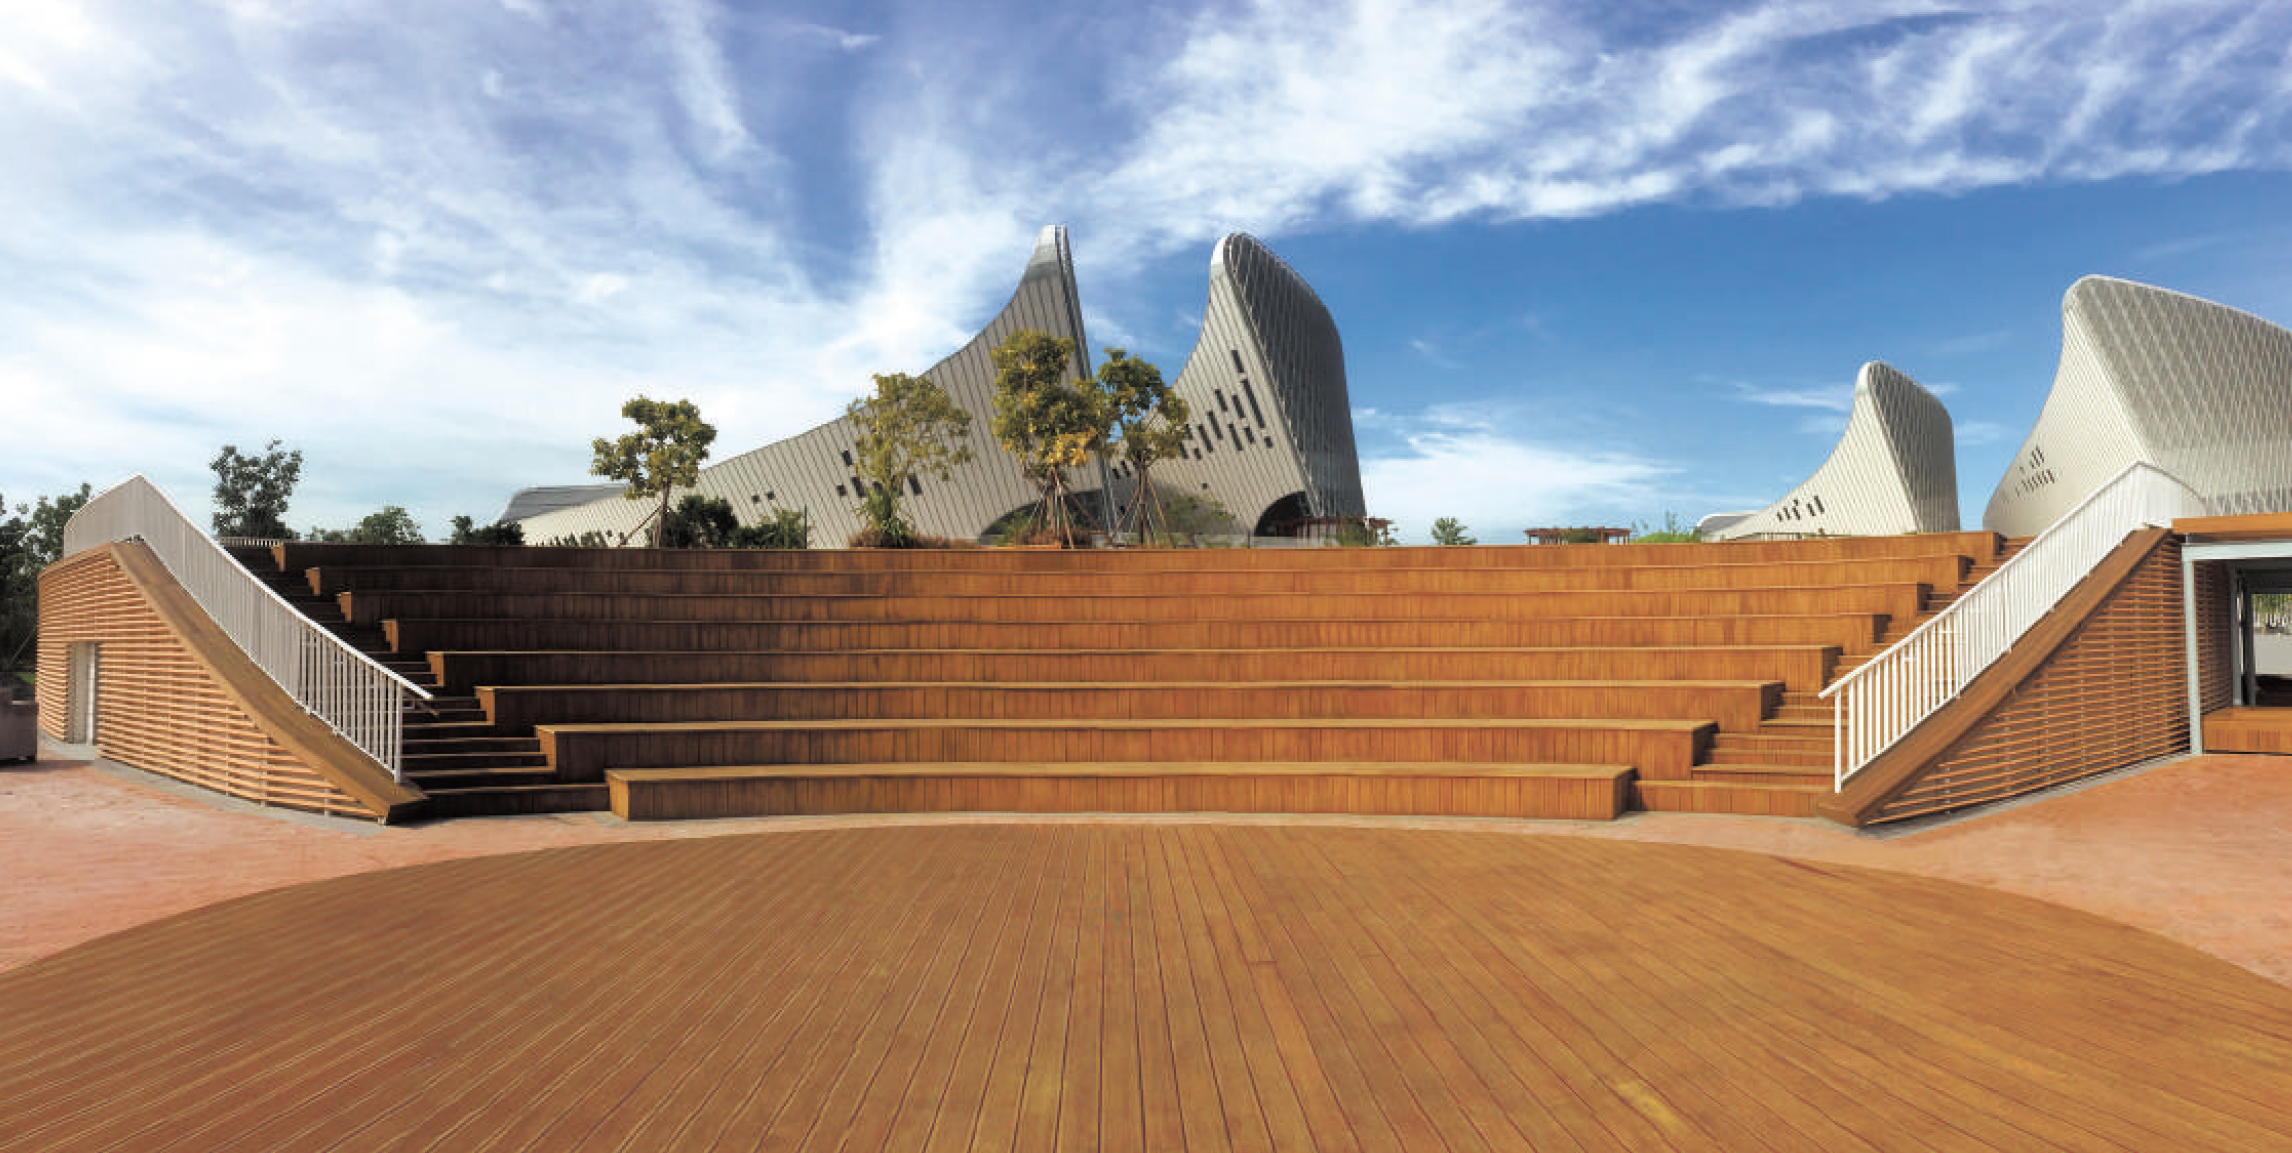
Decking
By
gsmate2
dasso
No Comments
GALLERY
CATALOGUE
Leave a Reply
Cancel Reply
Name
*
Email
*
Website
Save my name, email, and website in this browser for the next time I comment.
Share
Tweet
Share
Pin
Close Menu
STORY
ABOUT
ORGANIZATION CHART
HISTORY
LOCATION
BRAND
BRAND
PRODUCT
PROJECT
BOARD
NOTICE
NEW
CONTACT
SNS
INSTAGRAM
BLOG
YOUTUBE